Check more than the temperature
Review wind, precipitation, visibility, road conditions, closures, and avalanche information when the route or activity requires it.

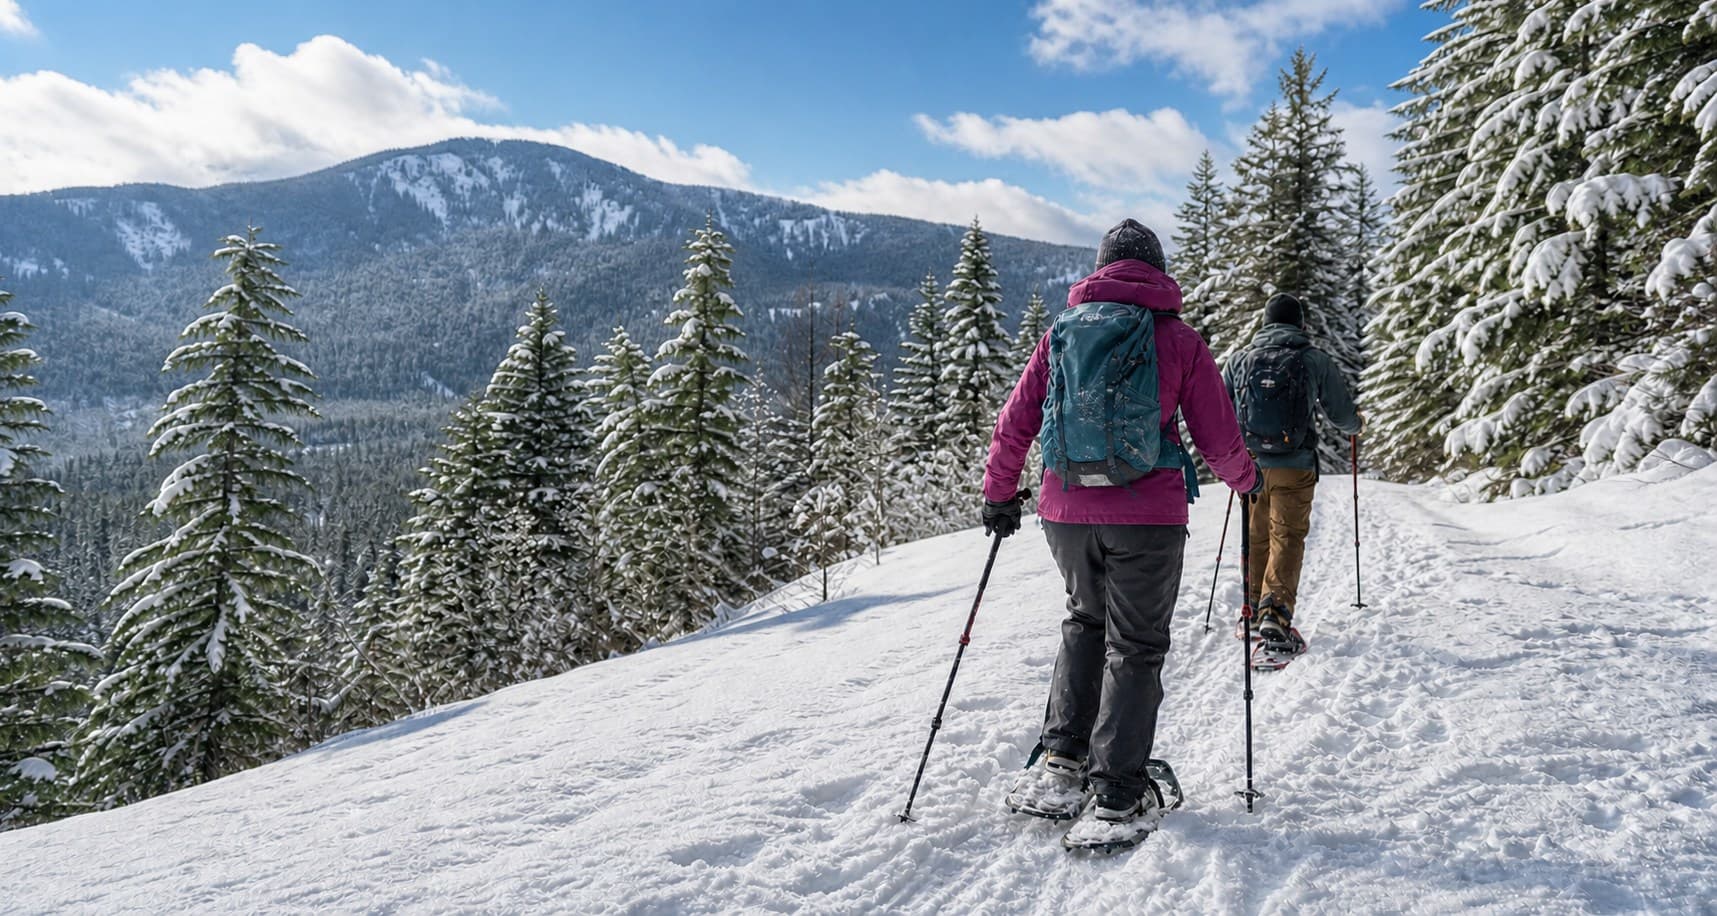
Western Mile checklist
A cold-weather checklist for resort days, cross-country skiing, snowshoeing, sledding, and other winter outings.
Keep it simple
This checklist emphasizes moisture management, weather protection, eye protection, hydration, and emergency readiness in cold environments.
Before you go
Review wind, precipitation, visibility, road conditions, closures, and avalanche information when the route or activity requires it.
Use moisture-managing layers that can be added or removed, and pack a dry backup for hands, head, and upper body.
Short winter daylight, slower travel, and changing conditions make an early turnaround safer than stretching the original plan.
Match the plan to the outing
A resort day, groomed trail, roadside sledding stop, and avalanche-exposed route require very different preparation and judgment.
Confirm operating hours, required tickets or permits, equipment rules, road conditions, and a warm return point.
Check grooming, trail designation, parking permits, daylight, and whether shared-use rules apply.
Avalanche education, current forecast interpretation, rescue equipment, navigation, and trained partners are route requirements.
Plan for the Northwest
Heavy snow, rain-on-snow, short daylight, pass closures, and rapidly changing avalanche conditions can alter the safest plan within hours.
Check pass conditions, traction requirements, parking rules, fuel, and the return forecast before leaving.
Adjust layers before sweating heavily and keep dry hand, head, and upper-body layers protected for the return.
Slower travel, navigation uncertainty, weather, and fading daylight should end the outing before the original destination is reached.
Start planning
Choose a ready-made starting point or open a focused guide only when a specific decision needs more detail.
Build around mountain weather, road access, and managed winter options.
Compare groomed Nordic centers, sno-parks, resort terrain, and a Bend or Sisters base.
Start with I-90 conditions, legal parking, and one managed route.
Use Winthrop or Mazama as a base for an extensive groomed Nordic trail network.
Use a full-service base and distinguish managed from backcountry terrain.
Compare Nordic trails, Brundage, snowshoe routes, and winter access from one compact base.
Match flotation, traction, binding design, and terrain to the route and typical snowpack.
Open guide →Start with classic touring, mixed-terrain, or skate use, then confirm sizing and boot-binding compatibility.
Open guide →Compare shells for wet snow, wind, breathability, and repeated use.
Open guide →Pack with confidence
Your progress saves automatically on this device. Print the checklist or save it as a PDF for your trip.
Loading saved progress…
Layer clothing so moisture and temperature can be managed throughout the day.
Inspect and pack the equipment for the chosen winter activity.
Protect exposed skin and maintain energy.
Account for rapid weather changes and winter driving.
Optional gear guidance
Compare useful levels of durability and performance by conditions, fit, and frequency of use.
A dependable starting point for occasional winter sports trips.
Balanced durability, comfort, and usefulness for regular winter sports outings.
More refined materials and performance for frequent or demanding winter sports trips.
Next step
Carry this activity into the planner, or compare gear only when you need it.